Difference between revisions of "Installing QtCreator"
| Line 1: | Line 1: | ||
| − | {{todo| | + | {{todo| Review|Brian Serrano|project=oe 5,bs,ky}} |
==Install Qt Creator== | ==Install Qt Creator== | ||
| Line 53: | Line 53: | ||
== Next Steps == | == Next Steps == | ||
| − | Once Qt Creator is installed, the next step is to [[ | + | Once Qt Creator is installed, the next step is to [[Getting_Started_With_Qt_Creator|configure Qt Creator.]] |
Revision as of 13:29, 19 June 2015
Install Qt Creator
-
Download Qt Creator from the Qt project web page:
-
Change to the directory where Qt Creator was downloaded from the command line:
developer@ldc:~$ cd /download/directory -
Make Qt Creator installer executable and run installer script:
 developer@ldc:~$ chmod +x qt-creator-opensource-linux-x86-3.1.0.run
 developer@ldc:~$ ./qt-creator-opensource-linux-x86-3.1.0.run
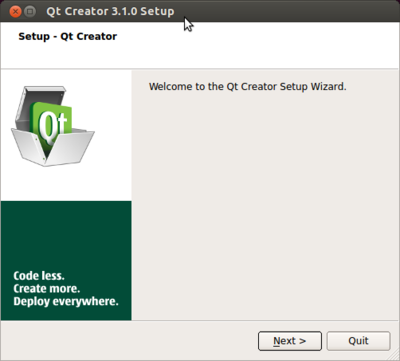
The installation wizard will start.
-
Press next to proceed.
-
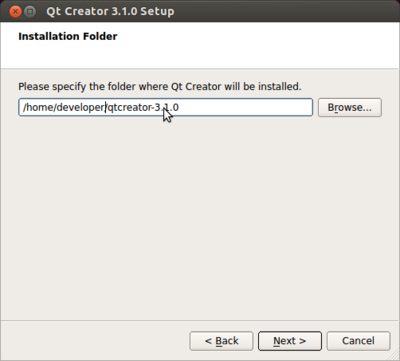
Choose an installation directory then press next
-
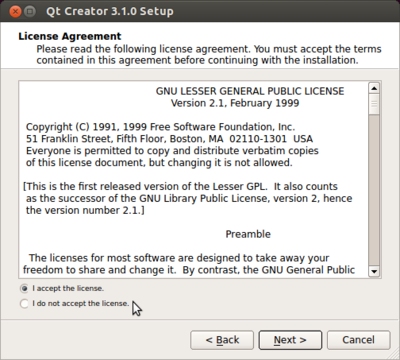
Accept the license agreement then press next
-
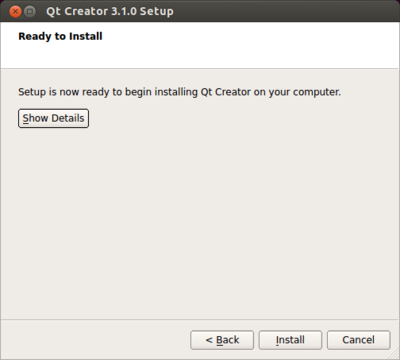
Press install to begin the installation
-
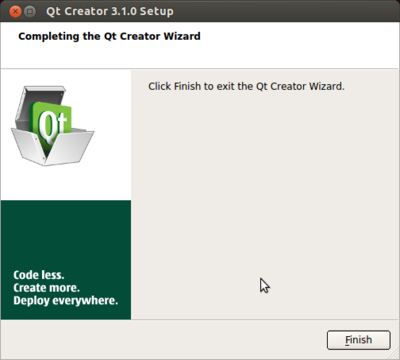
A status bar will appear. Press finish to exit the installation wizard
Next Steps
Once Qt Creator is installed, the next step is to configure Qt Creator.
