Difference between revisions of "Installing QtCreator"
m (Fixed tag.) |
|||
| Line 1: | Line 1: | ||
| − | {{todo| | + | {{todo| Review (06.18.2015-15:50->KY+)|Brian Serrano|project=oe 5,bs,ky,Review}} |
==Install Qt Creator== | ==Install Qt Creator== | ||
| + | {{warning | This is a guide on how to install Qt Creator manually, using a package provided by a 3rd party. This is '''not''' recommended. Instead, you should try installing Qt Creator from the EMAC provided packages}} | ||
| + | |||
<cl> | <cl> | ||
1. Download Qt Creator from the Qt project web page: | 1. Download Qt Creator from the Qt project web page: | ||
Revision as of 14:26, 20 November 2015
Install Qt Creator
| WARNING! |
| This is a guide on how to install Qt Creator manually, using a package provided by a 3rd party. This is not recommended. Instead, you should try installing Qt Creator from the EMAC provided packages |
-
Download Qt Creator from the Qt project web page:
-
Change to the directory where Qt Creator was downloaded from the command line:
developer@ldc:~$ cd /download/directory -
Make Qt Creator installer executable and run installer script:
 developer@ldc:~$ chmod +x qt-creator-opensource-linux-x86-3.1.0.run
 developer@ldc:~$ ./qt-creator-opensource-linux-x86-3.1.0.run
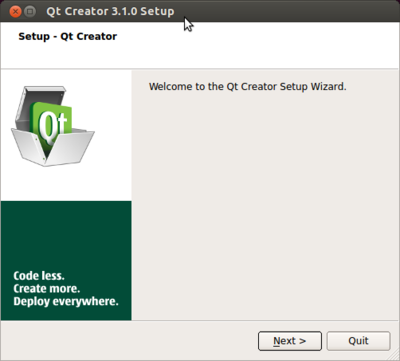
The installation wizard will start.
-
Press next to proceed.
-
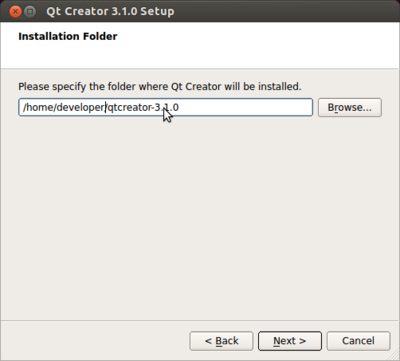
Choose an installation directory then press next
-
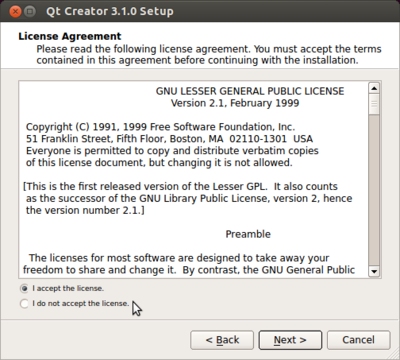
Accept the license agreement then press next
-
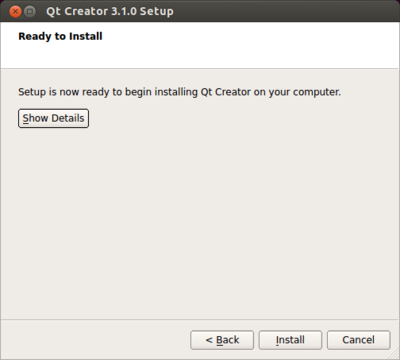
Press install to begin the installation
-
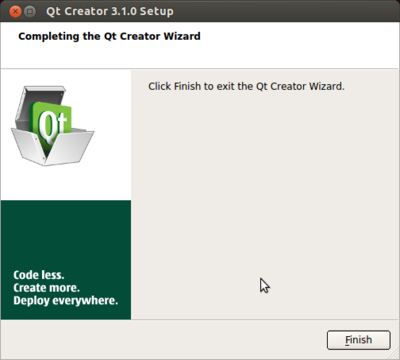
A status bar will appear. Press finish to exit the installation wizard
Next Steps
Once Qt Creator is installed, the next step is to configure Qt Creator.
