Difference between revisions of "STLink"
| Line 38: | Line 38: | ||
5. In the upper left, click 'Target', then 'Program & Verify'. The following window should appear. Click 'Start'. | 5. In the upper left, click 'Target', then 'Program & Verify'. The following window should appear. Click 'Start'. | ||
[[File:STLinkProgram.PNG|800px|thumb|left|STLink Program]] | [[File:STLinkProgram.PNG|800px|thumb|left|STLink Program]] | ||
| + | <br clear=all> | ||
| + | |||
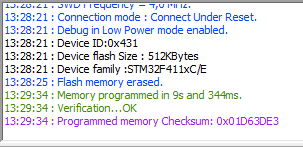
| + | 6. You should see the following message the programming was successful. | ||
| + | [[File:STLinkDone.PNG|800px|thumb|left|STLink Done]] | ||
<br clear=all> | <br clear=all> | ||
Revision as of 10:37, 29 May 2018
The STLink is a debugger and programmer for the STM8 and STM32 microcontroller families.
Contents
General Information
Tools Required
Setup
STLink on Windows
1 Start by downloading the STLink utility software here: http://www.st.com/en/development-tools/stsw-link004.html
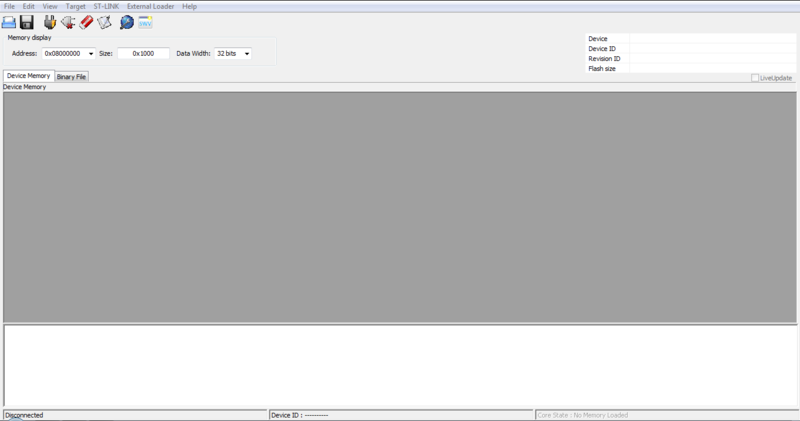
2 Open the STLink Utility
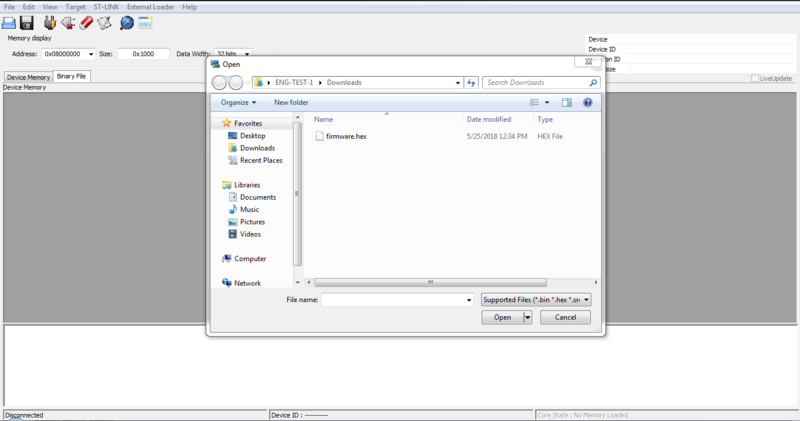
3 Click on the 'Binary File' tab in the upper left. A file browser should appear. Navigate to the directory that contains the binary file you plan to use and click 'Open'
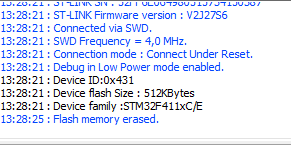
4 [Optional] Before programming the unit, it is recommended to erase the chip. In the upper left, click 'Target' and then click 'Erase Chip'. You should see the following message if it completes successfully.
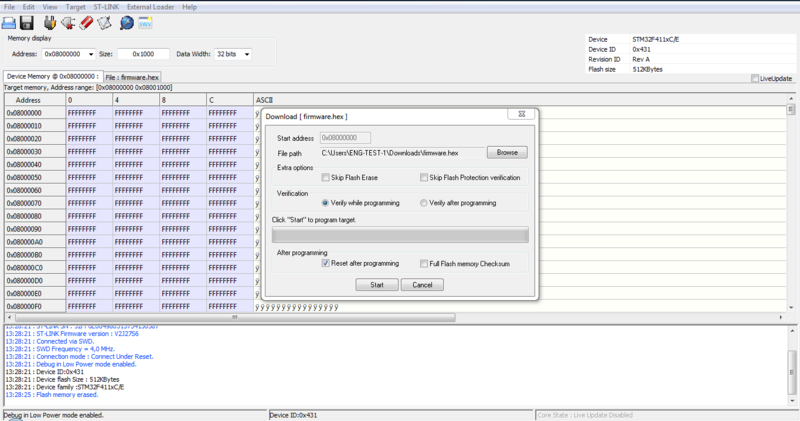
5. In the upper left, click 'Target', then 'Program & Verify'. The following window should appear. Click 'Start'.
6. You should see the following message the programming was successful.
