Difference between revisions of "Installing QtCreator"
| (One intermediate revision by the same user not shown) | |||
| Line 25: | Line 25: | ||
<br clear=all> | <br clear=all> | ||
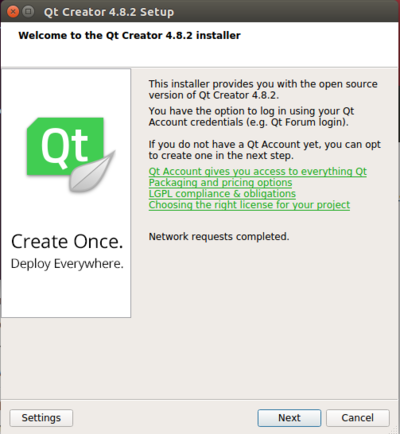
| − | * | + | * Log in or create an account |
| − | [[File: | + | [[File:Login.PNG|400px|thumb|left|Figure 2: Qt Creator Installation Wizard]] |
<br clear=all> | <br clear=all> | ||
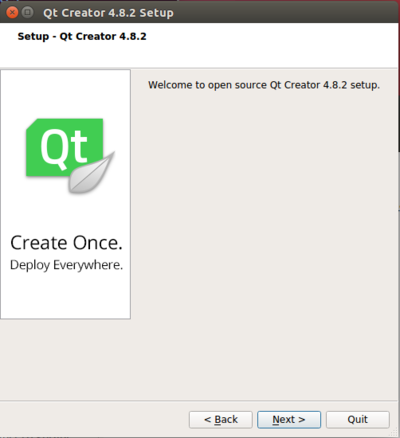
| − | * Press '''next''' to proceed. | + | * Press '''next''' to proceed with setup. |
| − | [[File: | + | [[File:Setup.PNG|400px|thumb|left|Figure 3: Qt Creator Installation Wizard]] |
<br clear=all> | <br clear=all> | ||
| Line 38: | Line 38: | ||
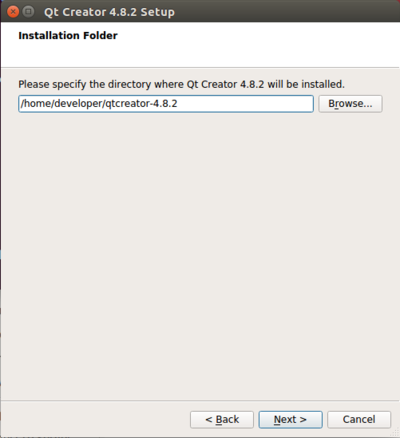
* Choose an installation directory then press '''next''' | * Choose an installation directory then press '''next''' | ||
| − | [[File: | + | [[File:InstallationFolder.PNG|400px|thumb|left|Figure 4: Qt Creator Installation Wizard]] |
| + | |||
| + | <br clear=all> | ||
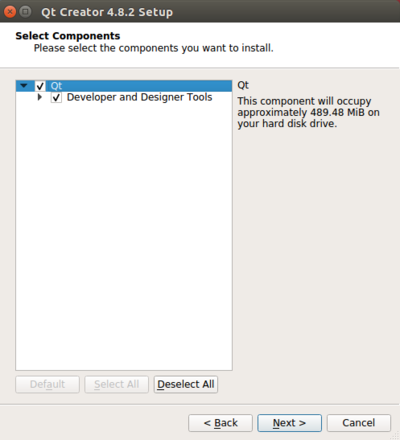
| + | * Select the components you want to install then press '''next''' | ||
| + | |||
| + | [[File:Select components.PNG|400px|thumb|left|Figure 5: Qt Creator Installation Wizard]] | ||
<br clear=all> | <br clear=all> | ||
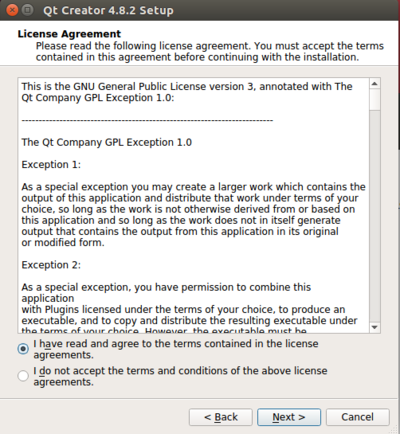
* Accept the license agreement then press '''next''' | * Accept the license agreement then press '''next''' | ||
| − | [[File: | + | [[File:Terms.PNG|400px|thumb|left|Figure 6: Qt Creator Installation Wizard]] |
<br clear=all> | <br clear=all> | ||
| Line 49: | Line 54: | ||
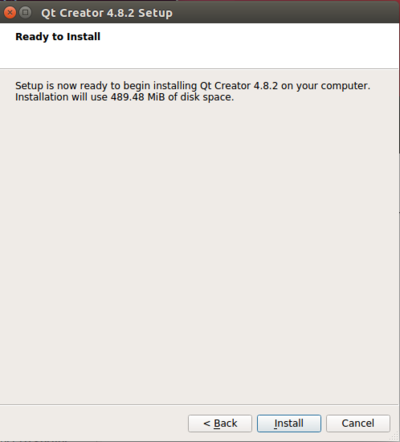
* Press '''install''' to begin the installation | * Press '''install''' to begin the installation | ||
| − | [[File: | + | [[File:Install.PNG|400px|thumb|left|Figure 7: Qt Creator Installation Wizard]] |
<br clear=all> | <br clear=all> | ||
Latest revision as of 17:22, 5 March 2019
Install Qt Creator
-
Download Qt Creator from the Qt project web page:
-
Change to the directory where Qt Creator was downloaded from the command line:
developer@ldc:~$ cd /download/directory -
Make Qt Creator installer executable and run installer script:
 developer@ldc:~$ chmod +x qt-creator-opensource-linux-x86_64-4.8.2.run
 developer@ldc:~$ ./qt-creator-opensource-linux-x86_64-4.8.2.run
The installation wizard will start.
-
Log in or create an account
-
Press next to proceed with setup.
-
Choose an installation directory then press next
-
Select the components you want to install then press next
-
Accept the license agreement then press next
-
Press install to begin the installation
-
A status bar will appear. Press finish to exit the installation wizard
Next Steps
Once Qt Creator is installed, the next step is to configure Qt Creator.
