Getting Started With EMAC Virtual LDC UPDATE 2019
This page describes how to get started with the EMAC Virtual LDC in VirtualBox
Contents
Video Series
Background
VirtualBox is a general-purpose full virtualizer for x86 hardware, targeted at server, desktop and embedded use.
For more information, visit the Virtual Box website: https://www.virtualbox.org/wiki/VirtualBox
General Information
Before getting started with the EMAC Virtual LDC, ensure that your computer meets the minimum specifications:
- Intel Core i3 processor (or equivalent)
- 4GB RAM
- At least 30GB of free storage space
Getting Started With EMAC Virtual LDC
1. Download and install VirtualBox.
2. Download the EMAC Virtual LDC .ova file. (Right click, Save link as)
3. Navigate to the directory you saved the file to, right click it and select "Open with VirtualBox"
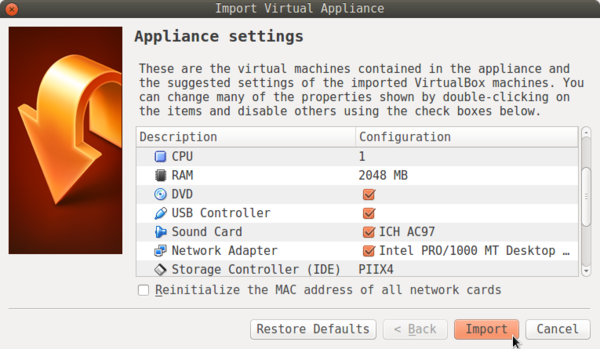
4. VirtualBox and an Import Wizard should start. Click "Import".
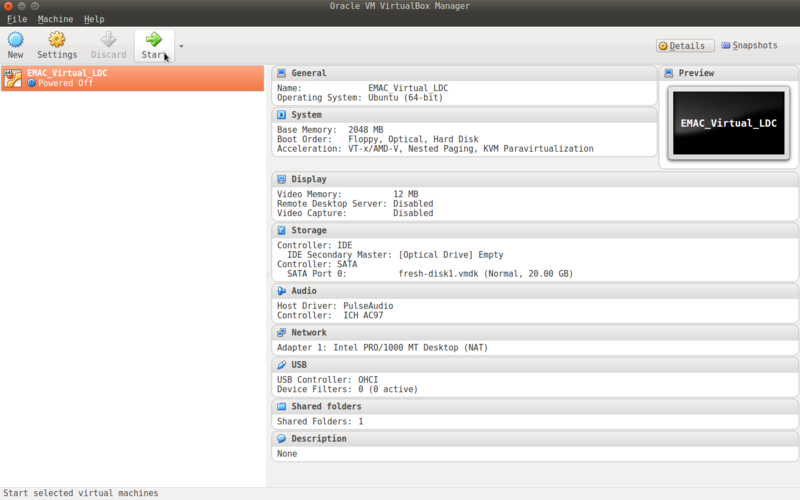
5. Once the file is imported, select the EMAC_Virtual_LDC and click "Start".
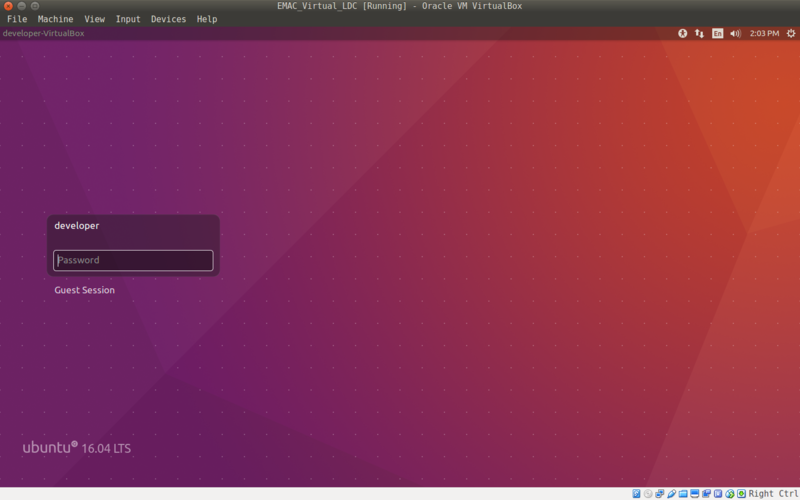
6. The virtual machine will boot and arrive at the login screen
- Password: emac_inc
| NOTE |
| Connections will need to be configured through the "Devices" tab (upper left hand corner), selecting USB, and then selecting your desired ports. USB connections can then be identified by opening Terminal application (bottom of left-hand tool bar), and entering "dmesg | grep tty". The serial terminal application, minicom can then be launched from virtual machine and target device connections can be established. See "Getting Started with Minicom" below for further usage information. |
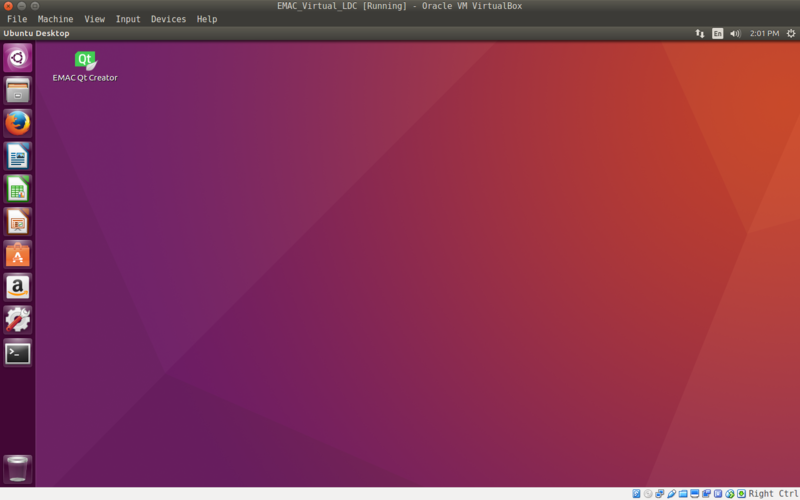
8. You are now ready to begin developing. The EMAC SDK and Qt Creator IDE are already installed.
Further Information
Where to go next:


